![]() After the demo that I gave in our last club meeting on painting faces. A few of the attendees had follow up questions so I thought I would make this blog post a little more about my process and various methods of application.
After the demo that I gave in our last club meeting on painting faces. A few of the attendees had follow up questions so I thought I would make this blog post a little more about my process and various methods of application.
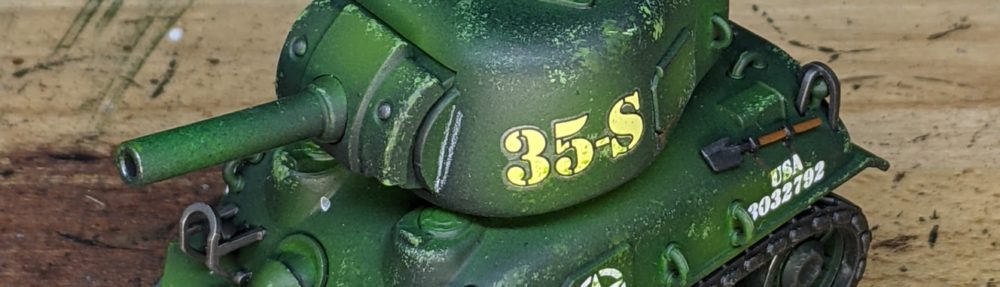
For those of you that weren’t at the club meeting, I used a roughly 1/8th bust (pictured on the left) that was kindly printed for me by Chris some time ago. To accelerate the process, I ended up airbrushing the demo guiding through zenithal (aka grisaille), verdacchio and facial temperature zones.
Despite my efforts to shortcut things – I still ran longer than I’d like and it was a bit of a flood of information.
This is also a much larger scale than I would normally paint, chosen for visibility during the class so I thought I would provide some examples of what I would normally do for a higher end model using a piece I am currently working on – Sam Vimes from the Discworld Novels. This particular model is from Micro Arts Studios and is roughly 1/60th scale. (NB: my version of this model is several years old and is cast in white metal rather than the resin indicated in the current listing).
This model is obviously quite a bit smaller and I am applying the stages using a brush rather than airbrush; however the underlying principles remain unchanged.
Starting from a black prime, I applied a white ‘zenithal’ (sprayed white down from above to imitate the light source and provide initial shading and highlights). The next thing is to block in some basic ‘underpainting’ in this case using greens, reds and blues. This provides more depth, realism and visual interest to the piece.
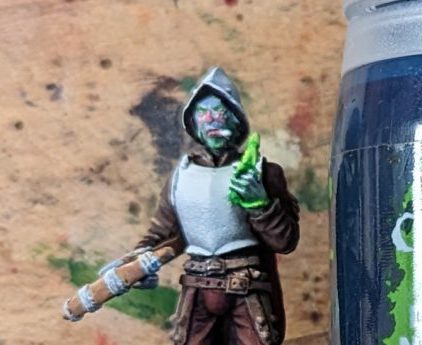
In the case of Sam Vimes we can see what that looked like from this quick WIP picture above. Although I am applying these undertones, I am not flooding the whole model with colour and the colour I use is pretty heavily thinned. (I also remembered to tint the lips this time).
Some folks may ask if this is really necessary, couldn’t you shade over the top or mix the paints as you go? The answer is that you can of course do these things but it is (in my opinion) a lot easier to work with a preshade.
Why? Well I find it to be more forgiving. If you are heavy handed in your application, you can layer the skin colour more heavily over the top to knock back the effect. It also encourages you to push the colours a little more heavily for greater visual interest than you might be inclined to if you mix the paints or glaze over top. Lastly – paints are complex, generally consisting of multiple pigments (particularly for fleshtone paints) – mixing those with another strong colour can result in odd effects and often rapidly desaturate the paint giving a weaker end result.
![]()
Once you have that underpainting laid down, it’s time to lay down the basecoat of the skintone. I thinned what is normally an opaque paint, with some glaze medium to ensure a single pass wouldn’t totally erase the underpainting. Remember we can always go back and layer up more.
![]()
The last thing I wanted to speak to is painting of eyes. At this scale, I think it is perfectly acceptable to just black out the eyes (typically with a dark brown rather than a full black which can be a little stark). However if you want to show off, you can paint in the sclera with an off white or ivory (don’t use a pure white unless you want it to look like they glow in the dark). With the sclera painted in, you can paint in a pupil/iris with either black or a dark brown.
![]()
So there we have it. There is still more to be done on this model, even with the face as I want to move the hue a little, increase the contrast a bit further but this should provide a good starting point on painting faces.
And remember! The Club’s Q3 contest will be Figure painting so you’ll all have a great excuse to put some of this into practice.